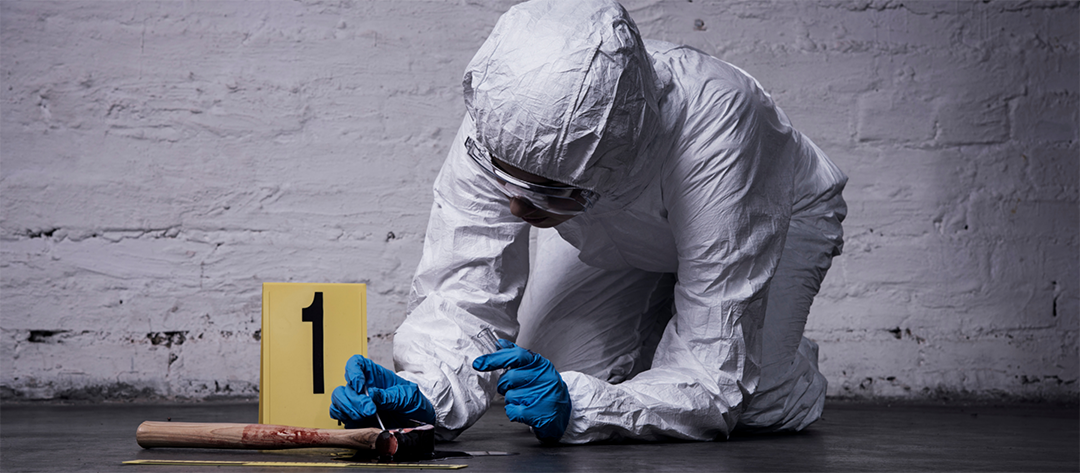
Often, forensic investigators arrive at a crime scene after things have been sitting for a while. This usually means not only an increase in the "ew, gross" factor but also an increase in the degradation of any samples that may be present. Sometimes, the crime scene is old enough that everything has dried out, leading to unique challenges in the processing and extraction of important information, genetic or otherwise. In some cases, the perpetrator has left biological material around the scene. Blood spots of course are of particular interest as they contain a plethora of information about the "donor," from genetic material to blood type.
Archived Blood Samples
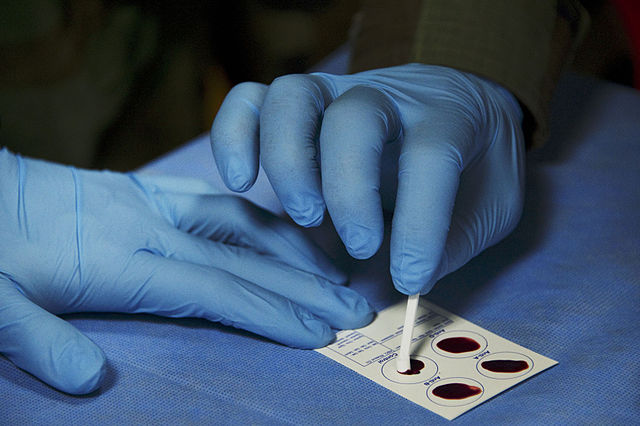
Dried blood samples are used for much more than just criminal investigations. Many places such as hospitals and universities have archives of blood samples, dried and stored on collection cards. These historical samples are excellent sources of information for disease studies and studies of changes over time, whether in an area, a demographic, or even individuals if the initial samples are old enough. These are, of course, far easier to handle than dried blood spot samples found at a crime scene as they have been carefully preserved on a substrate designed for the task and (hopefully) kept in a controlled environment. As opposed to those at a crime scene where they're on a fur rug or something that has had goodness knows what else spilled on it before and since.
DNA Isolation from Dried Blood Spots
 Alright, so we have our sample, fur rug or otherwise. Now how do we get the blood out of it? If you ask your grandmother she'll probably suggest something like a mixture of water and baking soda followed by hydrogen peroxide and a cold water rinse.
This is excellent if you happened to get a nosebleed in bed and now your sheets look like they were part of the aforementioned crime scene,
but not so good if you're trying to recover genetic material from a small piece of filter paper that's a decade or two older than you are;
even if that piece of filter paper was the most crisply folded and lemony fresh sample ever. The first step is to rehydrate the sample and separate the blood from the paper.
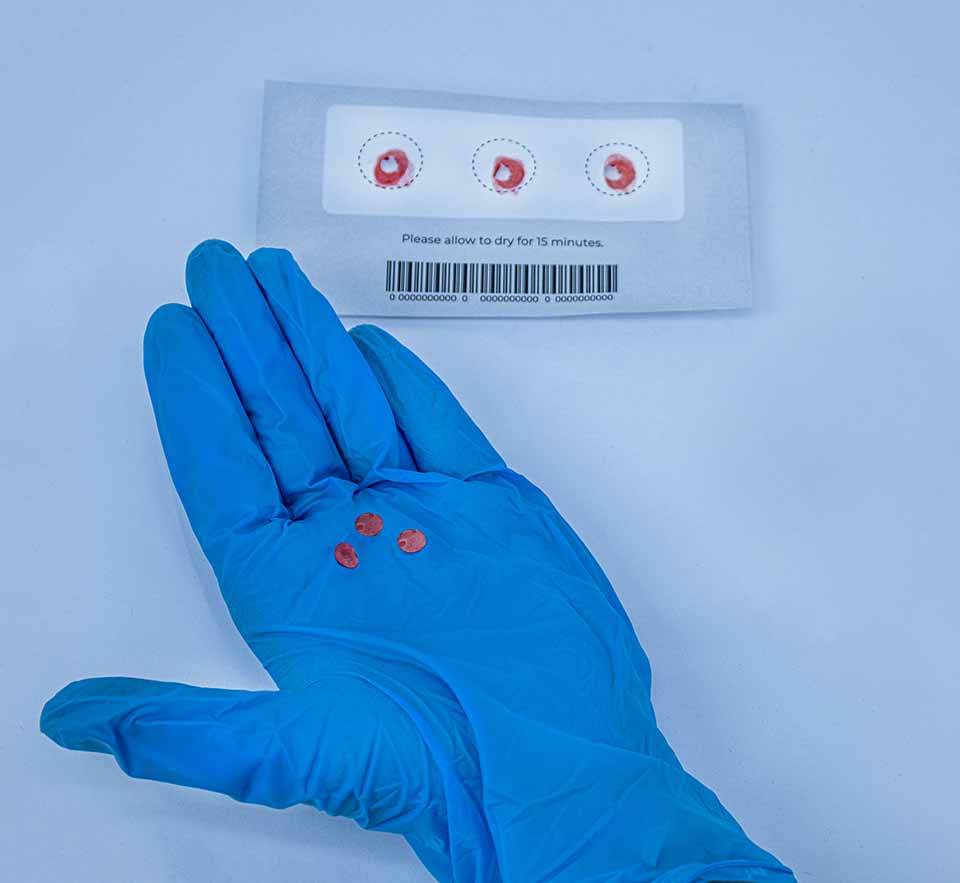
Usually a small punch is taken from the sample and placed in a buffer where it is then agitated and allowed to soak at moderately high temperatures.
This allows the blood cells to resuspend in the buffer. To further aid this, as well as to disable any nucleases in the sample, a proteinase is added alongside a lysis buffer to break open the cells.
Following one more heated incubation session, the solution should now contain free nucleic acids and other cellular debris.
If it doesn't, you have either been tricked into trying to extract DNA from a sample of red ink on a piece of paper, or you've performed some sort of alchemy and should submit your findings for a Nobel Prize.
Either way you should probably head back to step 1 with the hole punch.
Want to hear more from Norgen?
Join over 10,000 scientists, bioinformaticians, and researchers who receive our exclusive deals, industry updates, and more, directly to their inbox.
For a limited time, subscribe and SAVE 10% on your next purchase!
SIGN UP
Assuming one of your colleagues isn't playing a practical joke on you and you're not some sort of alchemist, you now have to separate the DNA from that mishmash of bits and buffers. This is usually accomplished by selectively binding the DNA to a silica membrane in a column using high salt conditions and washing everything else away. Once it's clean, low salt conditions can be reintroduced allowing the DNA to come loose and flow through into your collection tube
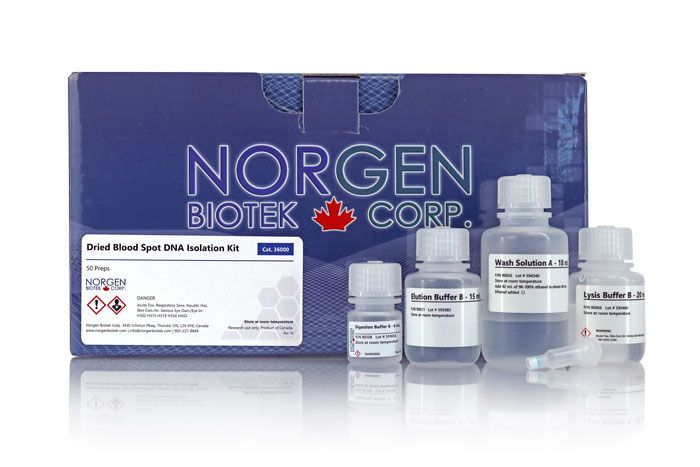
If this all sounds complicated to you I have one thing to say. "Oh good I'm not the only one." Fortunately, there are commercially available kits to simplify the matter, such as Norgen's Dried Blood Spot (DBS) DNA Kit. Using one of these kits makes the process significantly easier as all the reagents and extraction columns are supplied for you. As long as you have a benchtop centrifuge and the proper pipettes, the only thing missing is a blood sample!
